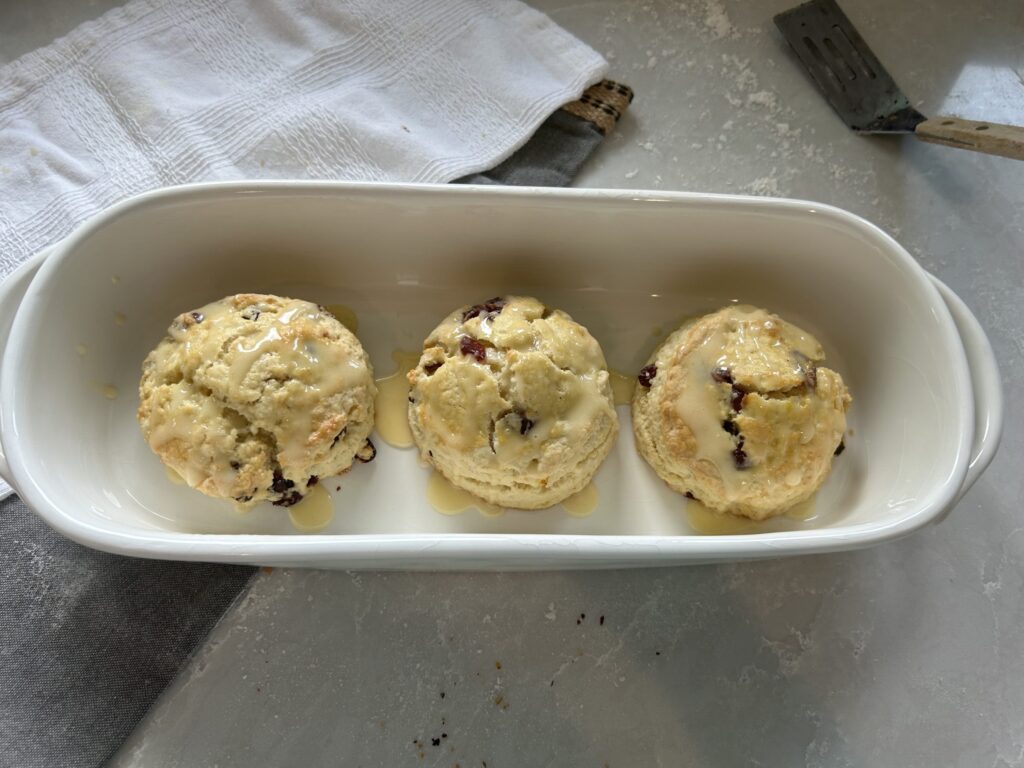
Cranberry, Orange, Butter.. what else could you ever need??
Whether you’re treating yourself to a cozy morning at home or impressing guests at brunch, these homemade scones bring a touch of warmth and elegance to any occasion. Dive in and discover how the best scone recipe can transform your breakfast routine!
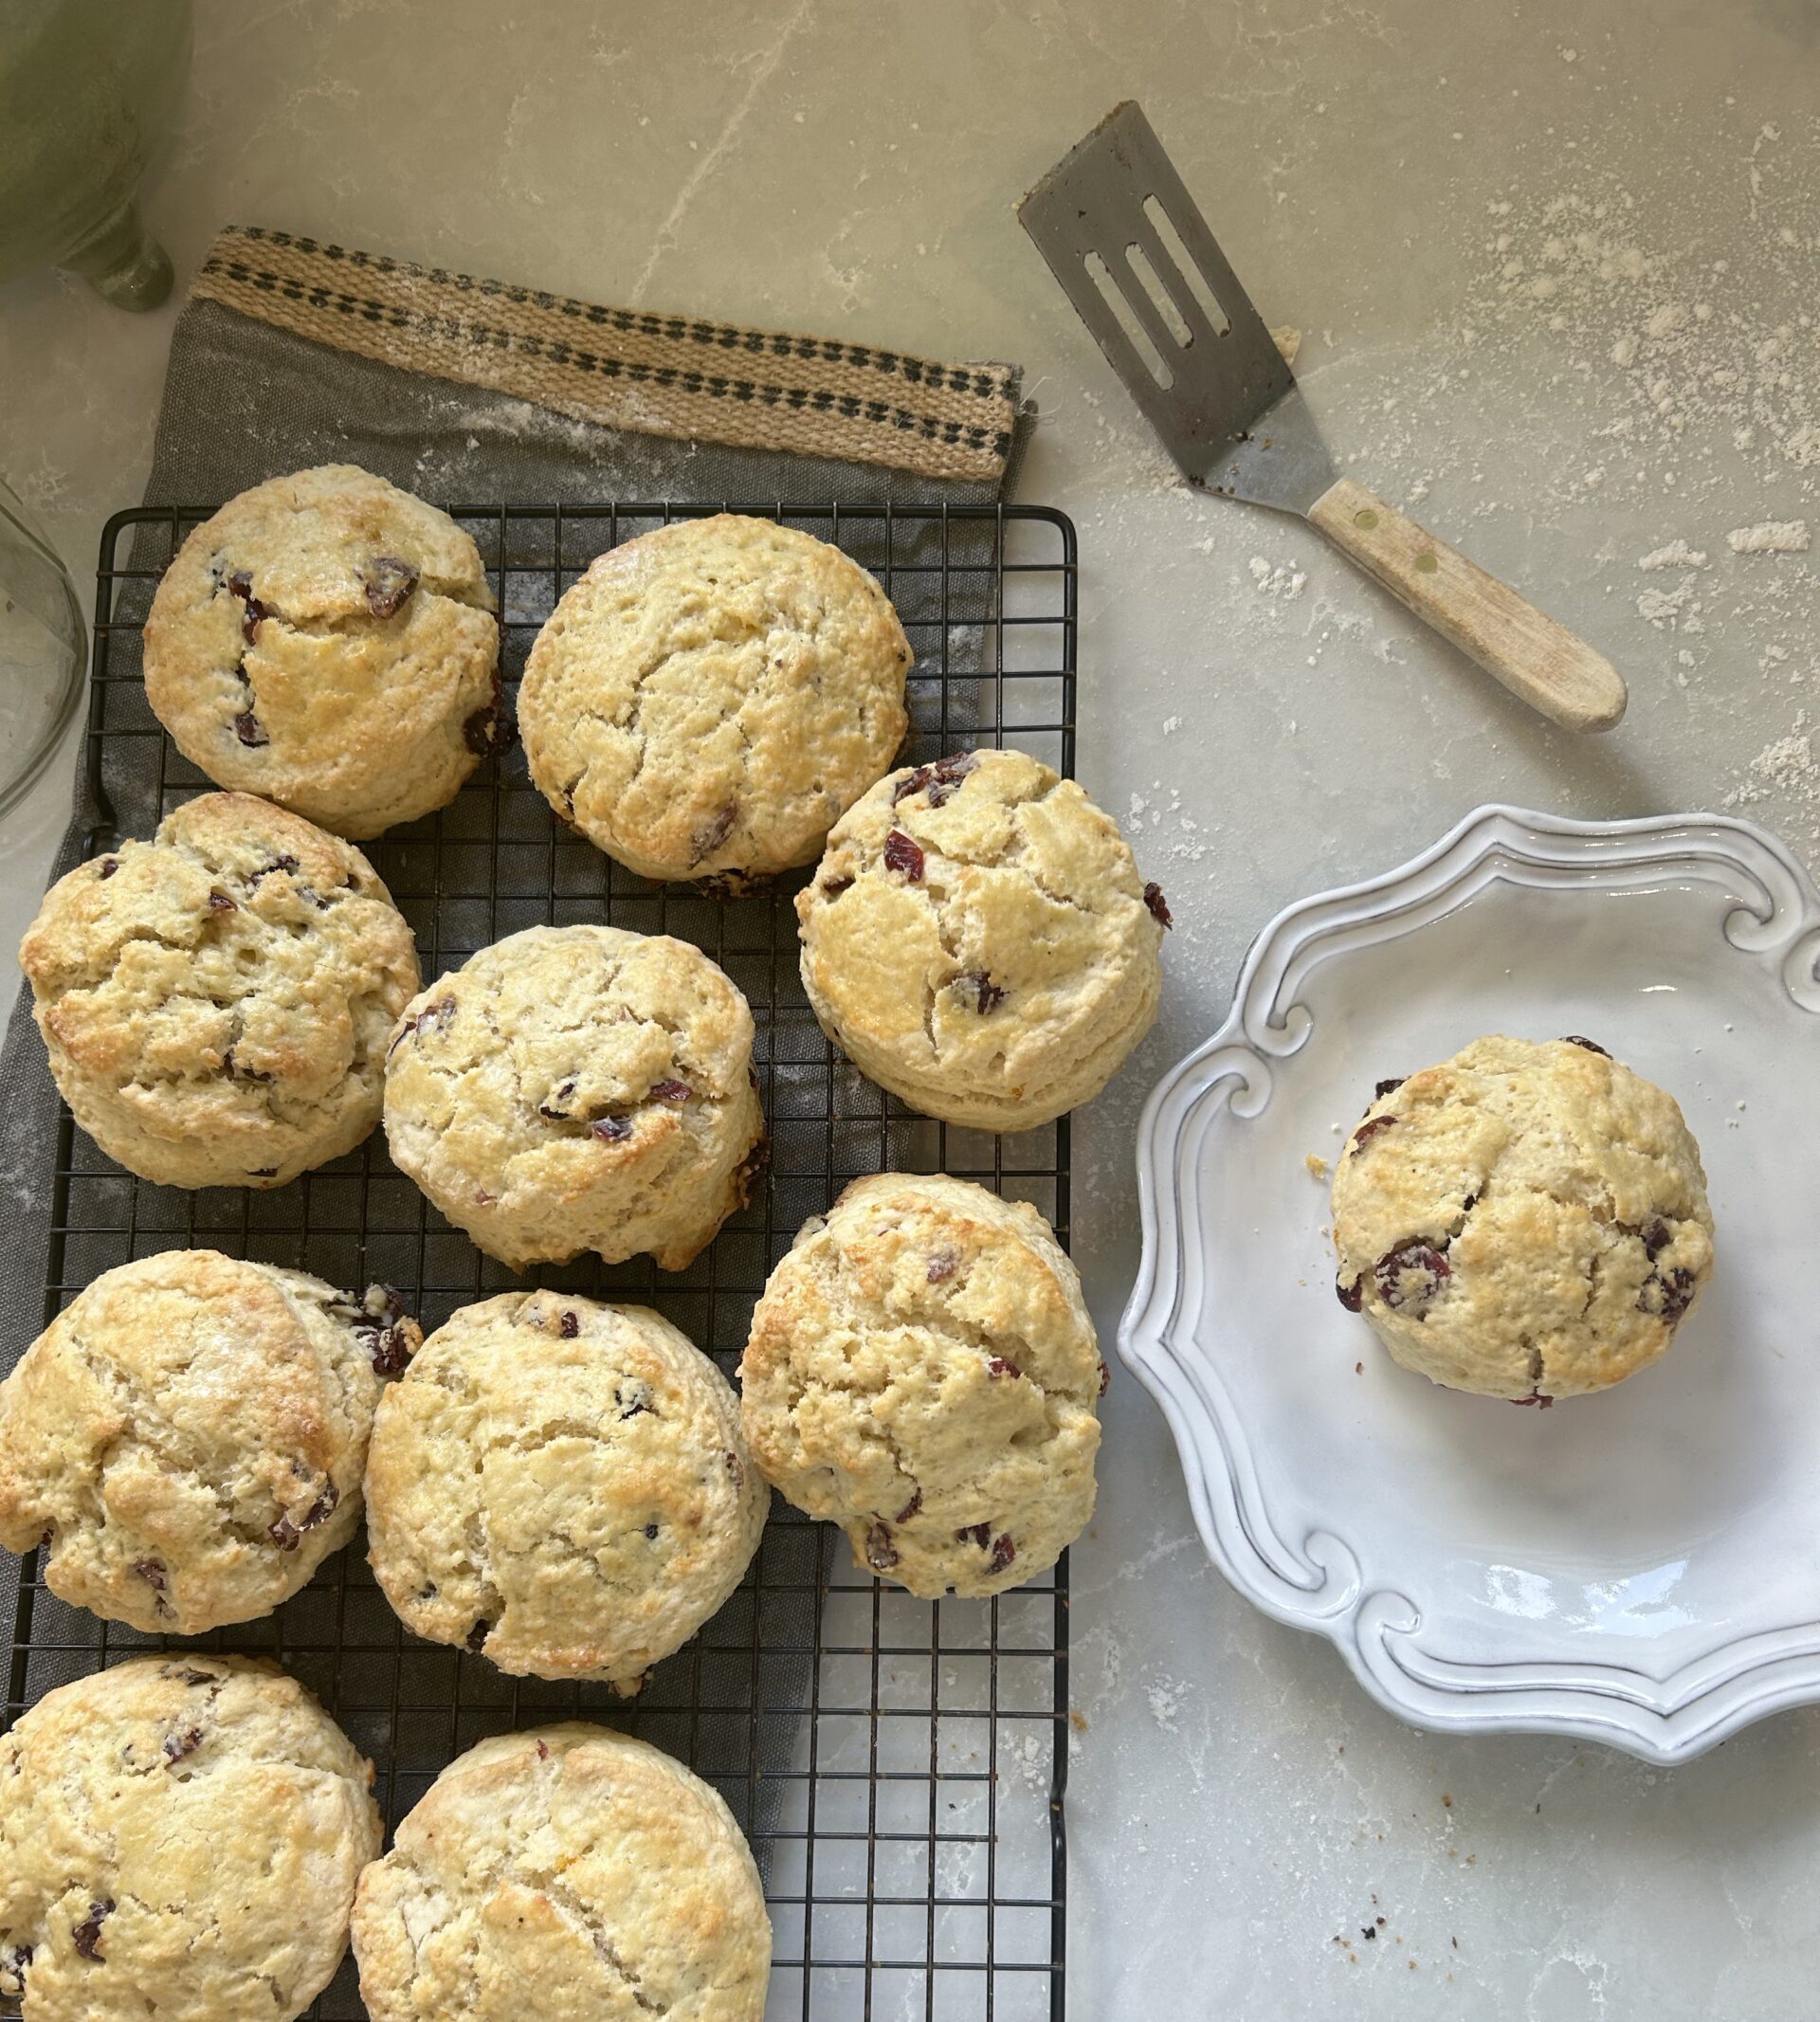
If you’re anything like me, you start every day with a cup of coffee. One of my favorite things is to have a special treat to pair with my morning coffee. Imagine starting your day with the delicious aroma of freshly baked scones wafting through your kitchen. This is truly the best scone recipe. It blends tangy cranberries and zesty orange, with the most delicious buttery pastry. Their flaky texture and subtly sweet flavor make them an ideal partner for a steaming cup of coffee, whether you’re enjoying a quiet morning moment or sharing a lively brunch with friends. Elevate your coffee break with these tasty homemade scones, and indulge in a little extra joy with each bite.
Heavy Cream vs Buttermilk
I use heavy cream in this recipe, but if you don’t have heavy cream on hand you can swap it for buttermilk. The difference? Heavy cream has a high fat content, so it yields a more rich, velvety scone with a moist and flaky texture. Buttermilk creates a lighter, fluffier scone due to its acidity, which reacts with leavening agents to create a delightful rise and adds a tangy flavor that enhances the overall taste. Whether you prefer the creaminess of heavy cream or the subtle tang of buttermilk, experimenting with both can lead to deliciously unique scone variations.
Tips and Tricks
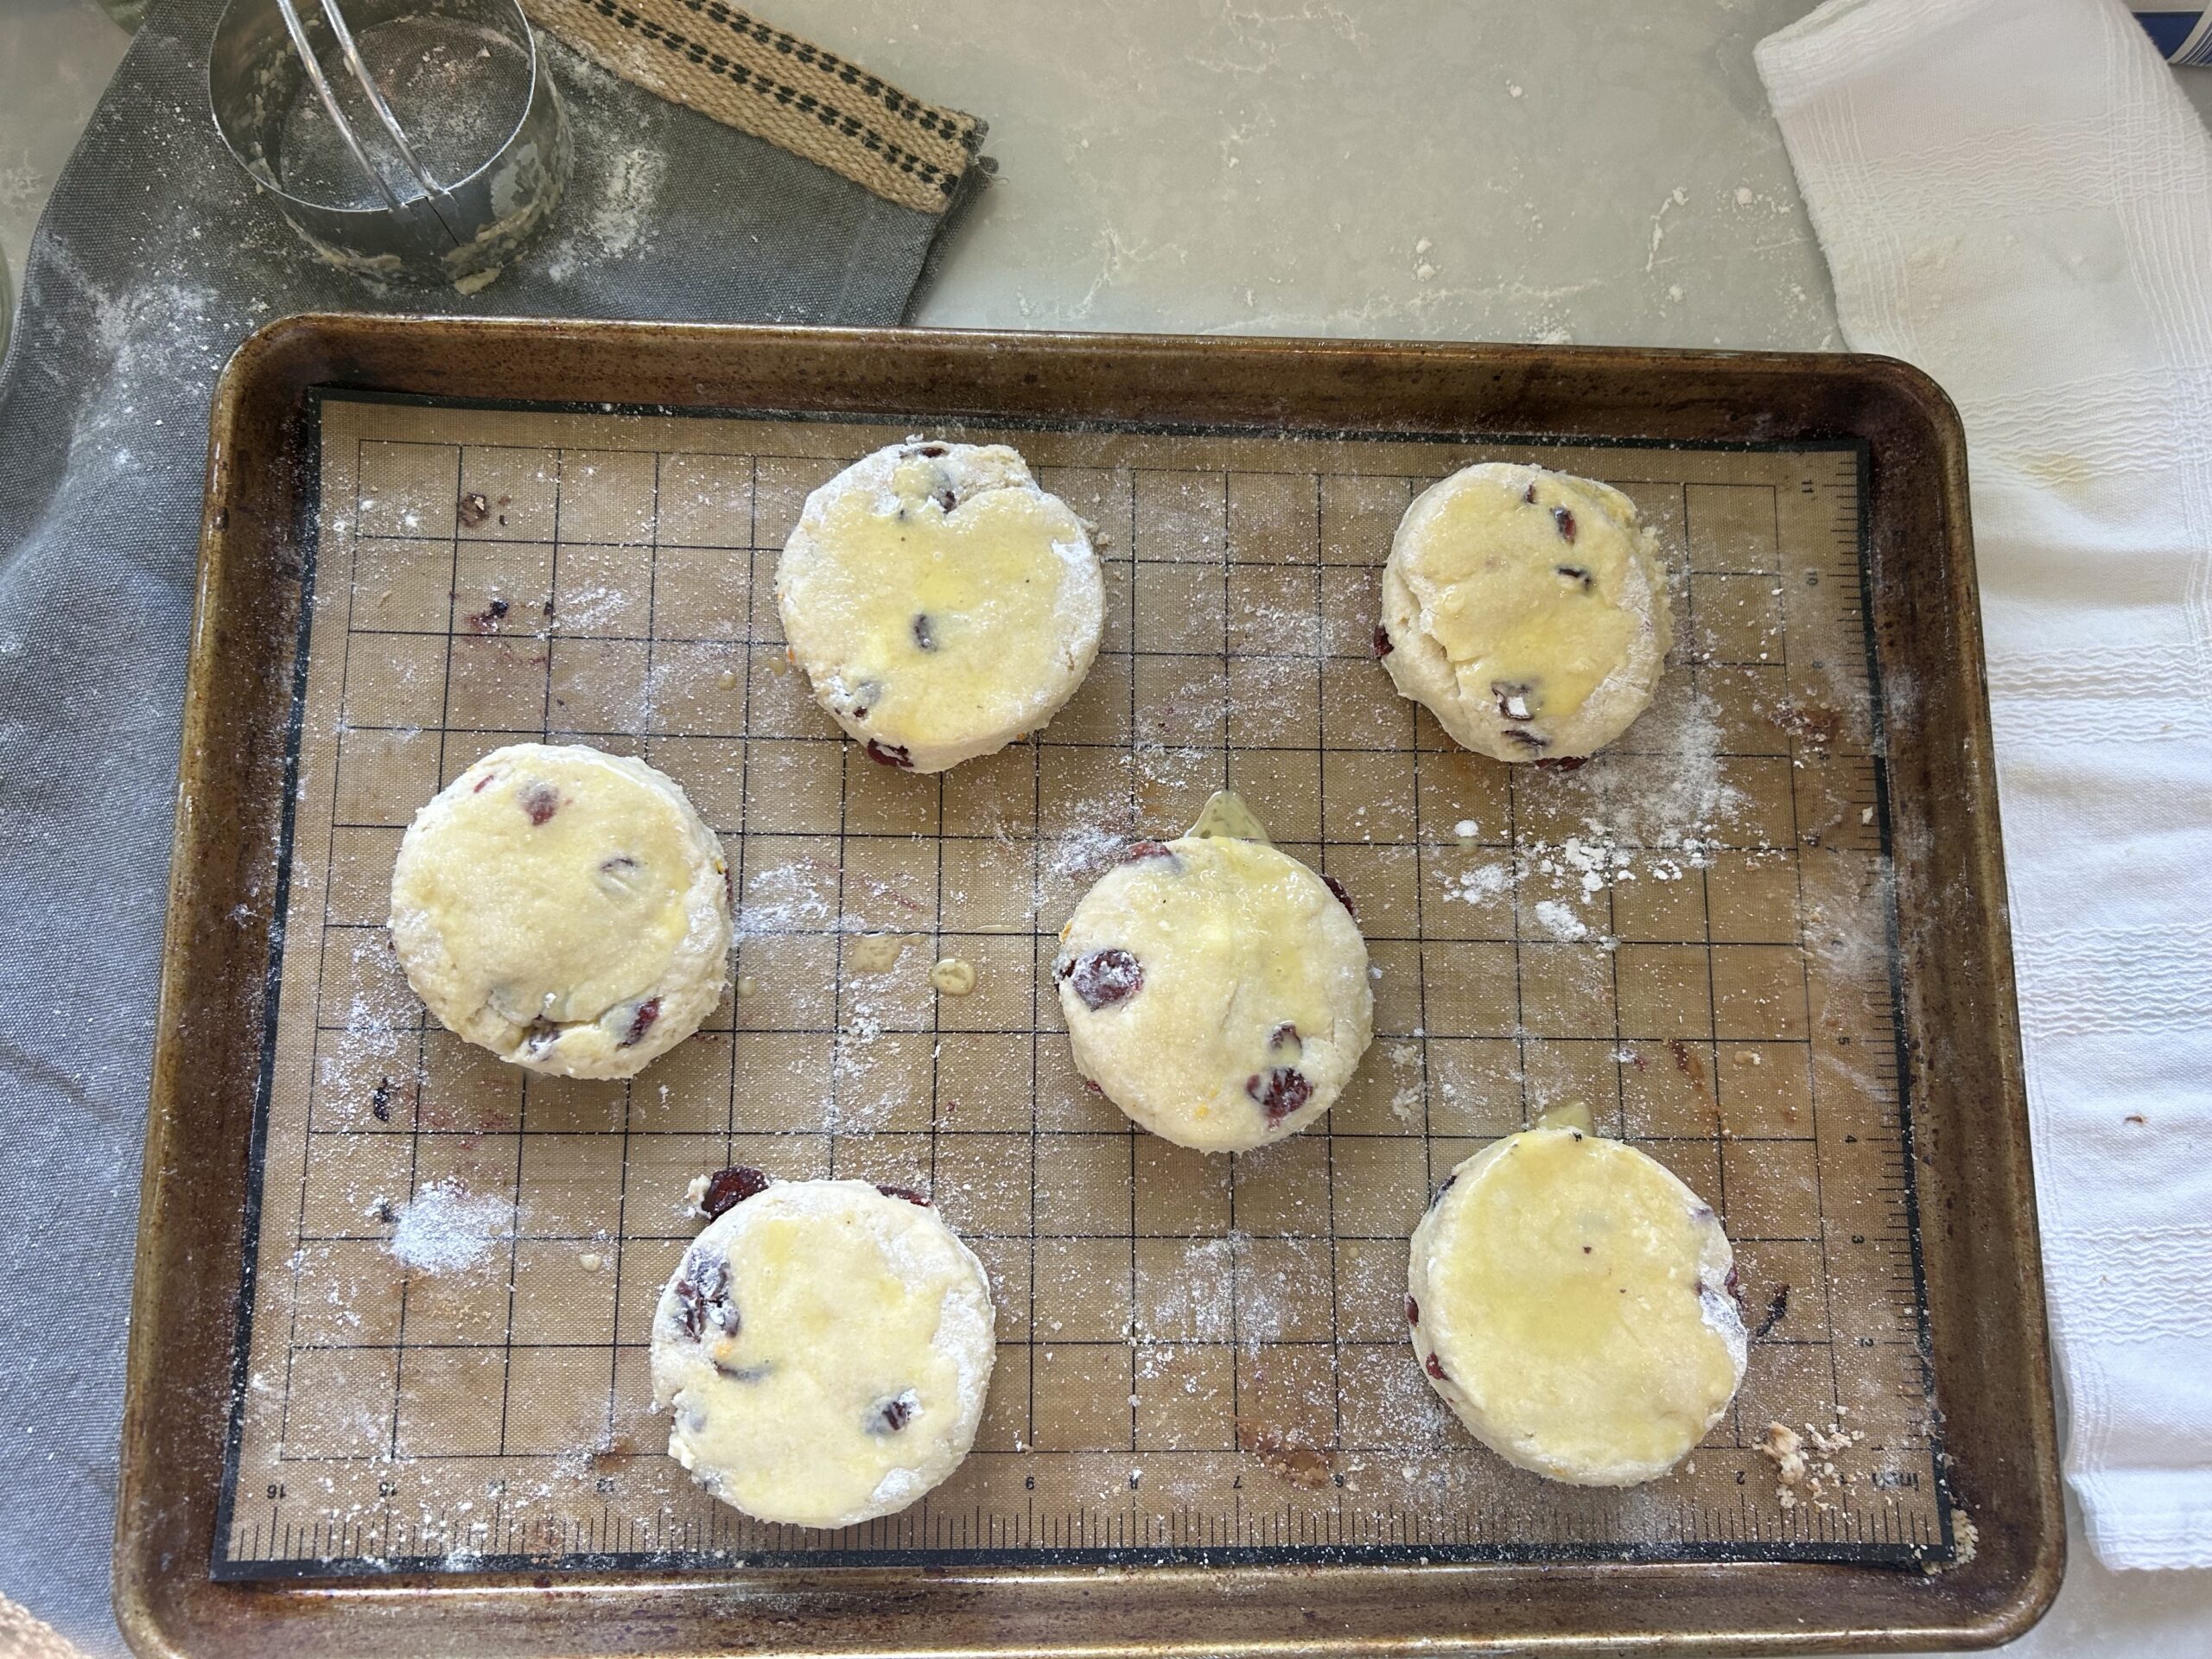
When it comes to making homemade scones, I have a few tips that can make all the difference in achieving that perfect, flaky texture. First and foremost, use cold butter; I keep mine in the freezer until I’m ready to incorporate it. This is what creates those fluffy layers in the scones. Next, make sure your heavy cream is cold for the best results. When mixing the ingredients, try not to overwork the dough—just combine it until it’s barely mixed. The heat from your hands can melt the butter, so handle the dough as little as possible. (Theme here – keep that butter as cold as possible until the scones are in the oven!) Once you’ve cut your scones into shape, let the dough rest in the fridge for about 15 minutes before baking; this helps them maintain their shape and ensures a tender crumb. Following these tips will set you on the path to scone perfection!